
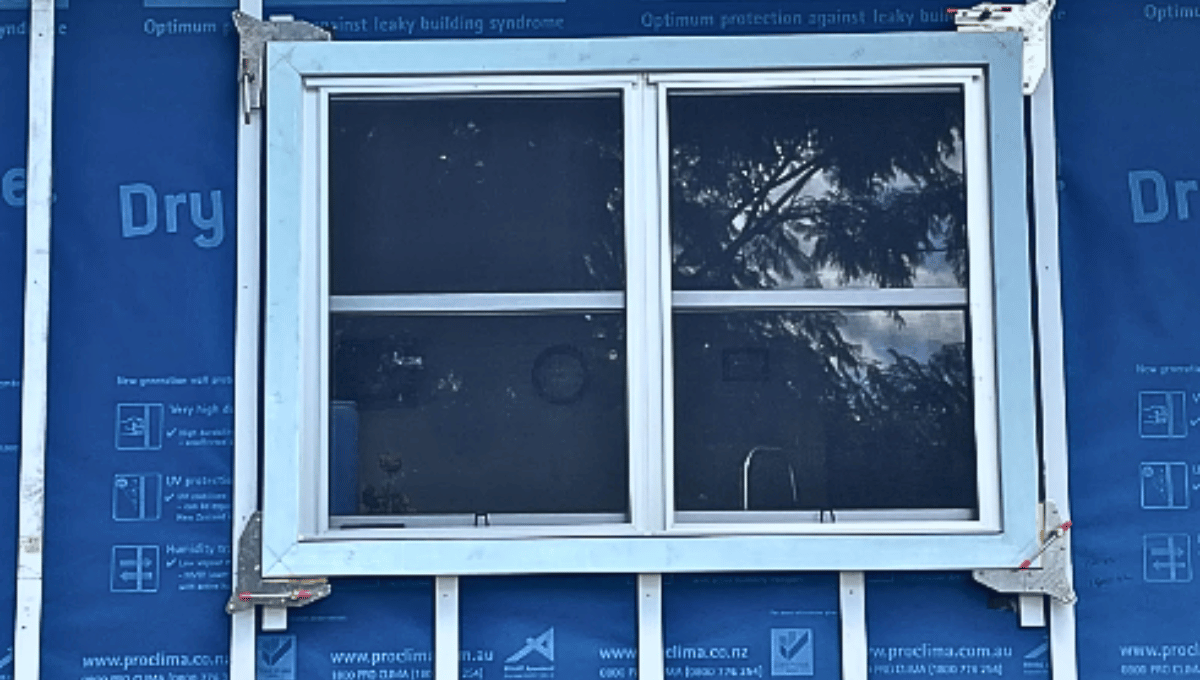
Window Detailing and Sealing
Window openings are the most concentrated set of envelope problems in a building. Every control layer has to be interrupted and then re-established, across a junction between two materials that move relative to each other, in a location where water collects.
Blower door testing and moisture investigations both put window perimeters near the top of the failure list. The good news is that the detail is well understood and the products to do it properly exist.
What the detail has to achieve
Four things, corresponding to the four control layers:
- Shed water outward and drain any that gets in.
- Maintain the air barrier across the junction.
- Manage vapour appropriately for the climate.
- Minimise the thermal bridge at the reveal.
They interact. A detail that achieves air sealing but traps water is worse than no detail at all.
Sequence
The order is the detail. Every element sheds onto the one below and is covered by the one above.
1. Prepare the opening. Check the sill is level or falls outward. An opening with a back-slope will hold water permanently once the window is in, and no amount of tape fixes a sill that drains inward. Clean the substrate. Prime it if it is masonry, concrete, fibre cement, or dusty timber.
2. Sill flashing. Wide sill tape into the opening, up both jambs a minimum of 150mm, and lapping out onto the wall face below the opening so water drains onto the wall membrane and away. The sill flashing must direct water outward. If the sill tape terminates flush at the outside face with nowhere to go, water sits at the interface.
3. Jambs. Jamb tape laps over the sill tape at the bottom. Water running down a jamb should land on the sill flashing and drain out.
4. Head. Head flashing laps over the jamb tapes and runs under the wall membrane above. This is the detail most often reversed. The wall membrane goes over the head flashing, never under it, or water running down the wall enters at the head.
5. Install the window. Once the opening is fully sealed, the window goes in and is fixed.
6. External connection. The external connection strip seals the frame to the structure, weathertight and vapour permeable so the reveal can dry. It needs enough slack to accommodate movement between the window and the building, which is why the strips are made with a loop rather than pulled tight.
7. Internal seal. The internal seal continues the air barrier from the wall across to the window frame. In climates where an internal vapour control layer is appropriate, this is where it connects.
Why movement matters
A window frame and a timber or masonry structure move differently. Thermal expansion, moisture movement in timber, and building settlement all produce relative movement at that junction over the life of the building.
A rigid seal fails. Either the adhesive lets go or the material tears, and the failure is usually at a corner where movement concentrates.
Purpose-made connection strips are built with slack, so movement is absorbed by the material rather than the bond.
Common failures
Reverse head flashing. Wall membrane tucked under the head flashing instead of over it. Water enters at the head and runs down inside the wall.
Sill with no drainage path. Sealed at the outside face with nowhere for water to go.
Expanding foam as the seal. Foam fills gaps and provides some thermal benefit. It is not an air seal and not a water seal. It shrinks, cracks and channels water. Foam plus proper tape is fine. Foam alone is not.
Silicone as the air seal. Same issue. Silicone on the external face is a weather bead, not an air barrier, and it has no continuity with the wall’s air barrier.
Tape stretched around corners. Tape pulled tight across a corner bridges rather than adhering, and it lifts. Corners need the tape formed into them, usually with a relief cut and a patch.
No primer on masonry. Reliable adhesion on porous or dusty substrates needs primer. Without it the tape looks fine at handover and lets go within a couple of years.
Not rolling the tape. Pressure sensitive adhesives need firm pressure to wet out against the substrate. Thumb pressure is not enough. Roll the full length.
Checking the work
Before cladding and linings go on:
- Trace the water path from the head of the window down to the wall below. Continuous and outward at every step?
- Trace the air barrier from wall to frame. Continuous all the way around?
- Are all tapes fully rolled with no lifted edges or bridged corners?
- Does the sill drain out?
Photograph each opening. It is the only record you will have.