
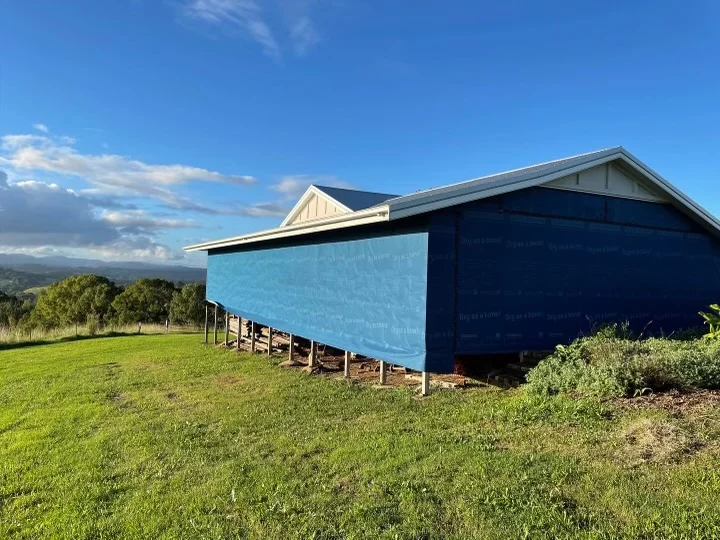
Building Wrap Installation Sequence
Most membrane failures are not membrane failures. They are sequence failures: the right product installed in the wrong order, so that water arriving later has a path in.
The principle is simple. Every layer should shed water onto the layer below it, the way roof tiles do. Get the sequence right and the detailing mostly follows.
Before you start
Check the substrate. Self-adhered membranes need a rigid, continuous, clean and dry substrate. Over open framing you need a mechanically fastened membrane. Dust, frost and surface moisture all compromise adhesion, and priming fixes the first of those.
Check the exposure period. If cladding is weeks away, the UV rating matters more than anything else on the data sheet. Some membranes carry a 180 day exposure rating, others are much shorter.
Check the weather. Adhesive performance is temperature dependent. Most quality tapes will bond in cold and damp conditions, but check the product limits rather than assuming.
Sequence
1. Start at the bottom.
The first course goes on at the base of the wall and every subsequent course laps over it. Working top-down produces reverse laps that channel water into the wall, and it is a surprisingly common error on tall elevations where crews start at scaffold level.
2. Set the base termination.
How the membrane terminates at the slab, bearer or flashing determines where water leaves the assembly. It must drain out, not stop at a horizontal surface where it can pond. Seal to the slab or flashing so wind-driven water cannot get behind.
3. Run horizontal courses with correct laps.
Follow the manufacturer’s minimum lap, typically 100mm to 150mm horizontally. Upper courses lap over lower. Seal laps with a compatible sealing tape rather than relying on the membrane’s self-adhesive edge alone in exposed locations.
4. Handle vertical joins.
Vertical laps should fall over a stud where there is backing to press against, and should be sealed. Avoid vertical joins at corners, where the material should wrap continuously.
5. Wrap corners continuously.
External corners take the most weather. Run the membrane around them in one piece rather than butting two sheets. Where a join is unavoidable, lap it in the direction of the prevailing weather and seal it properly.
6. Detail openings before the wrap is closed out.
Window and door openings need their own sequence, and getting them right is worth more than everything else combined.
Window openings
This is where most water gets in, and the order matters:
Sill first. A wide sill flashing tape into the opening, running up the jambs a minimum of 150mm and lapping out onto the face of the wall below. The sill must drain outward. If the opening has a back-slope, correct it before taping.
Jambs second. Jamb tape laps over the sill tape, so water on the jamb runs onto the sill and out.
Head last. Head tape or flashing laps over the jambs and, critically, under the membrane above. The wall membrane laps over the head flashing, not the other way around.
Then the window. Once the opening is sealed, the window goes in, and the external connection strip seals frame to structure.
The rule throughout is shingle lapping: each piece sheds onto the piece below and is covered by the piece above.
Penetrations
Every pipe, cable, duct and bracket through the membrane is a leak path until it is sealed.
For round penetrations, a grommet is faster and more reliable than hand-taping. Stretch it over the penetration and seal the flange to the membrane.
For irregular penetrations, use a combination of tape and sealant, working from the bottom up so each element sheds onto the one below.
For clusters of services, consider a sealed board or box rather than sealing each item individually.
Fixings
Every fastener through the membrane is a hole. Two mitigations:
Fix through battens with a self-sealing strip beneath, so the material closes around the shank.
Keep fixings out of areas where water concentrates, particularly below openings and at the base of walls.
Before cladding goes on
Walk the wall and check five things:
- All laps run in the shedding direction, with none reversed.
- All penetrations are sealed.
- Openings are shingle-lapped correctly, with head flashings under the wall membrane.
- Tapes are fully rolled, with no lifted edges or bridged corners.
- No tears, and any repairs properly patched with a full-coverage patch rather than a strip of tape.
Photograph it. Once the cladding is up, this assembly is invisible for the life of the building, and a photographic record is the only evidence you have that it was done properly.
The most common errors
Reverse laps from working top-down. Head flashings over the wall membrane instead of under it. Sill tape with no outward drainage. Tape applied to dusty substrate without primer. Tape pressed with a thumb instead of rolled. Penetrations left for later and forgotten.
None of these show up until the wall is closed.